In this post, we are going to see about the creation of ECS.
Services used:
| Service Name | Scope | Description |
| AWS ECS | Regional | ECS stands for Elastic Container Service.
It is the fully managed container orchestration service that makes it easy for us to deploy, manage, and scale containerized applications. |
Step 1:
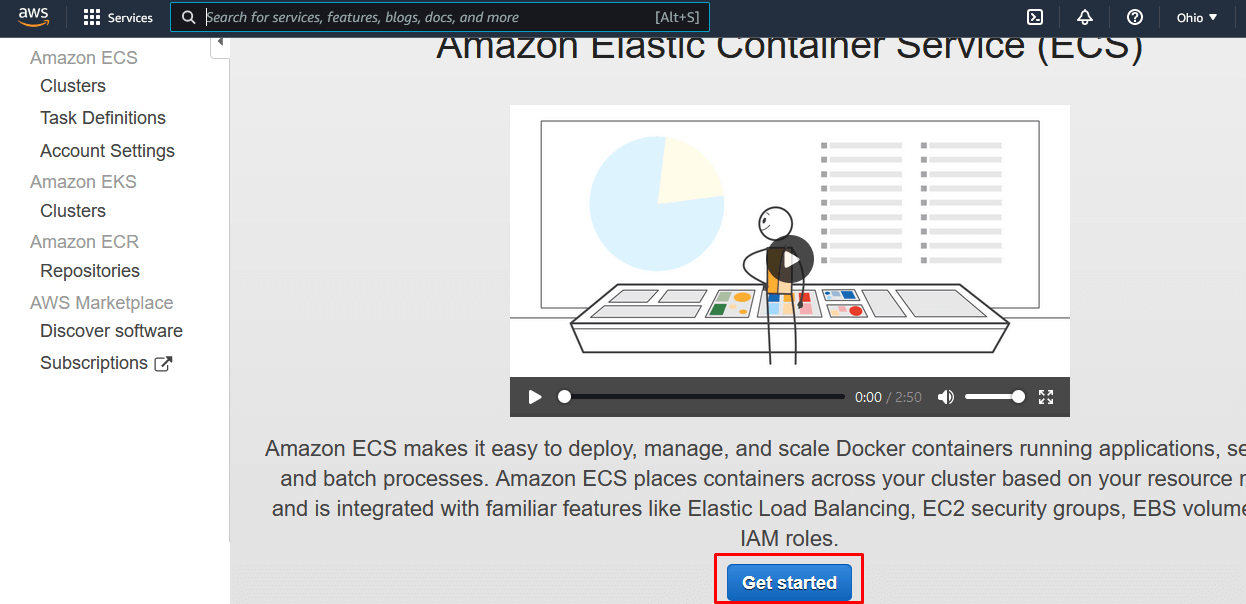
Go to AWS Console. In the search bar, type the word “ecs“. From the filtered services, select the Elastic Container Service.

Step 2:
The Amazon Elastic Container Service console will appear. Click the button Get Started.
Step 3:
As the first step, we need to specify the Container definition and Task definition under Container and Task section.
Container Definition:
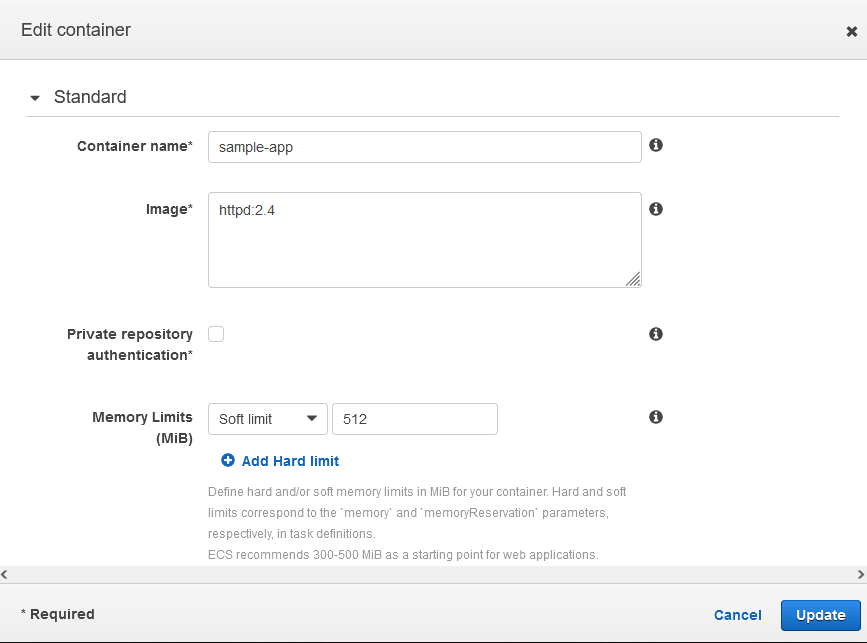
Select the container definition which in turn the application image.

After selecting the image, click on the Edit button to explore some extra options.
Update the required details and click on the Update button.
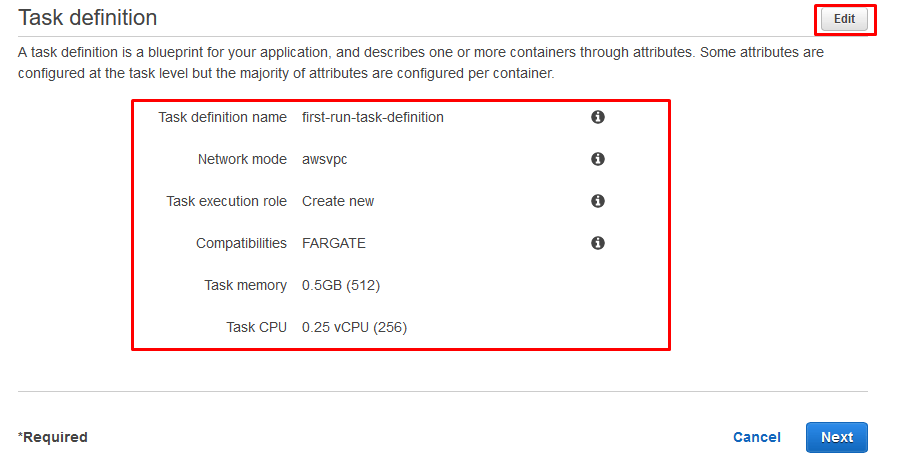
Task Definition:
The next step is to select the Task Definition where we need to select the VPC, Task Memory, etc.,
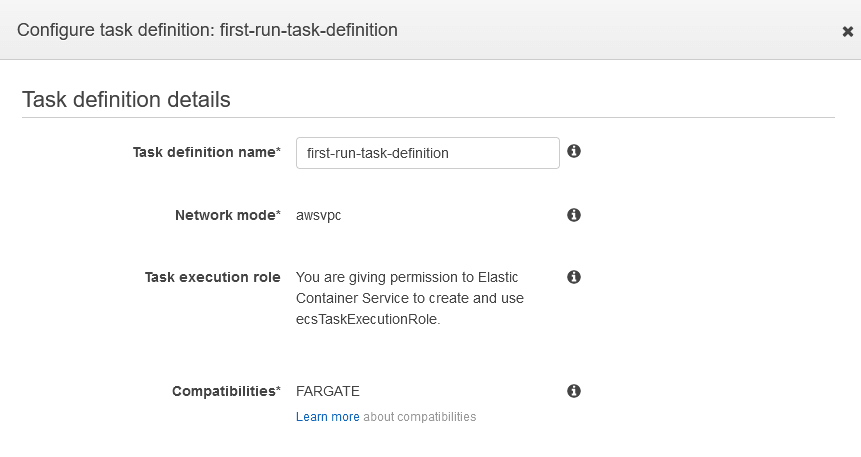
The default options will appear based on the image selection. Click on the Edit button to edit the values.
Under Task definition details, we can edit the Task definition name.
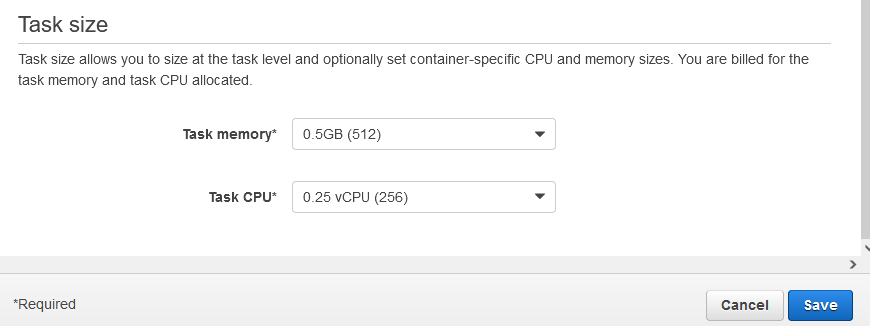
Under Task size, we can edit the Task memory & Task CPU.
Click on Save to update the changes.
Click on Next to proceed with Service configuration.
Step 4:
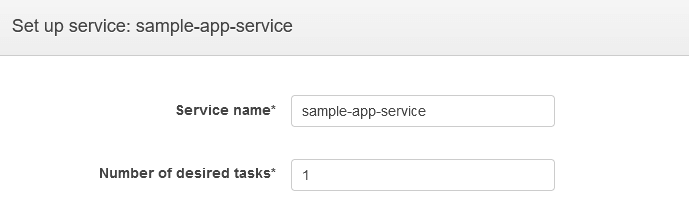
As the next step, we need to specify the service configuration.
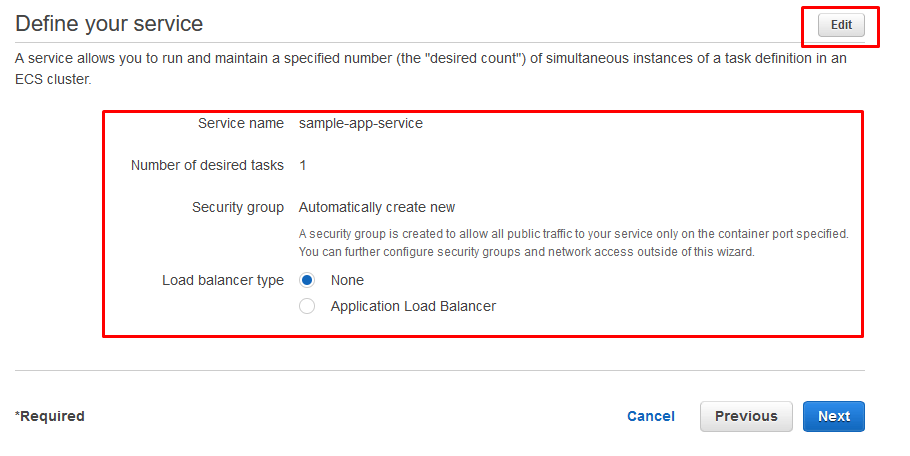
Click on Edit to change the default values. The below values could be updated here:
Service name: The name of the service
Number of desired tasks: The replicas of the tasks
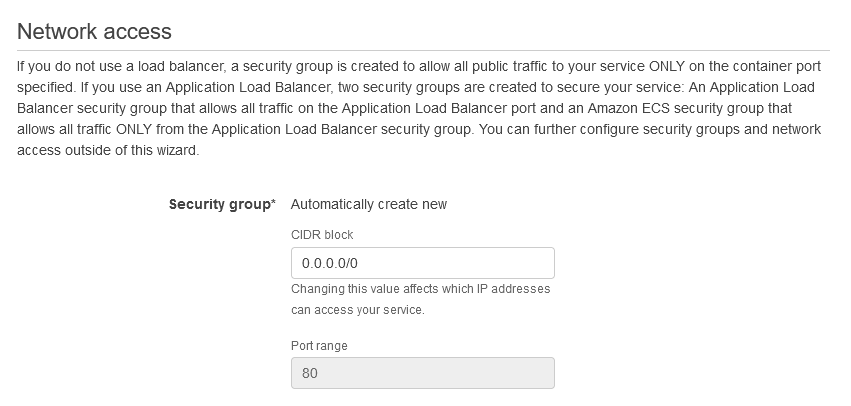
Security group: This is to allow access to the application that has been hosted inside the docker image.
Load balancer type: This is an optional step. This is to create an elastic load balancer to distribute the traffic across the tasks.
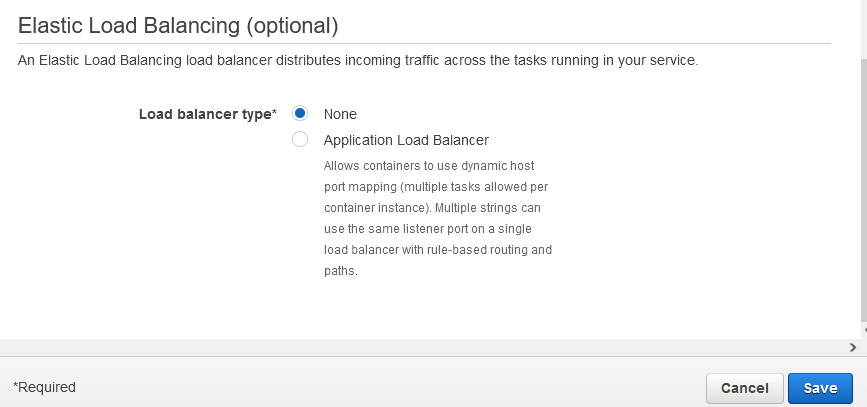
Click on Save after updating the value.
Click on Next to proceed with the Cluster configuration.
Step 5:
As the next step, we need to specify the cluster configuration.
Enter the Cluster name. VPC ID and Subnets will be created automatically.
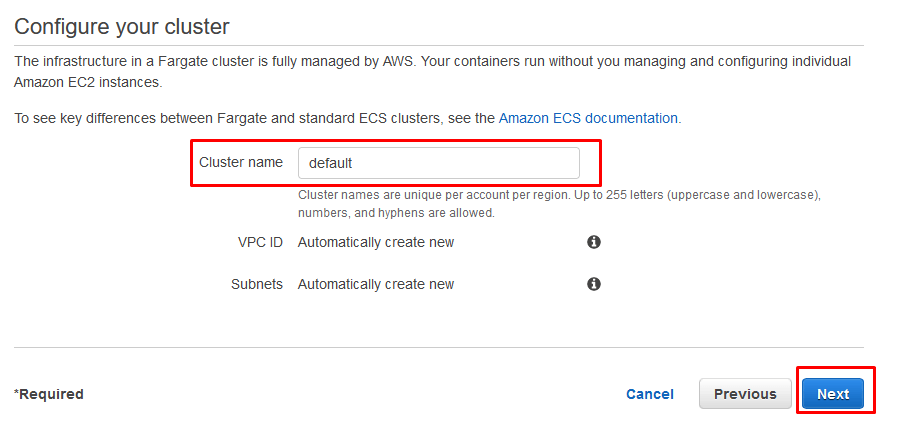
Click on Next.
Step 6:
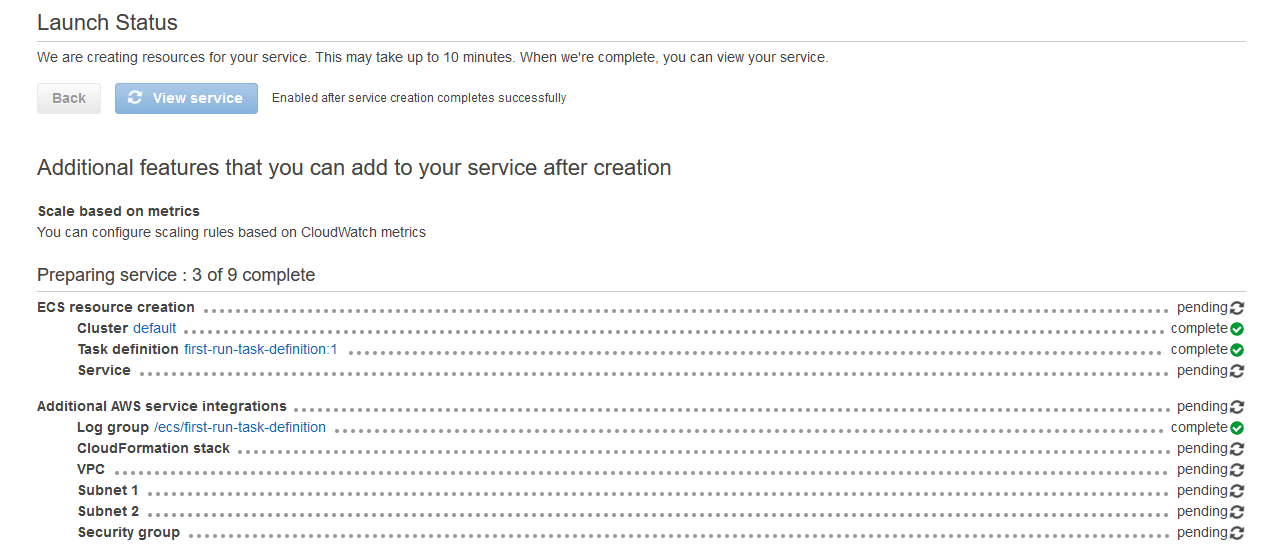
As the final step, we need to review the configuration and click Create.

This might take 10 minutes to complete.
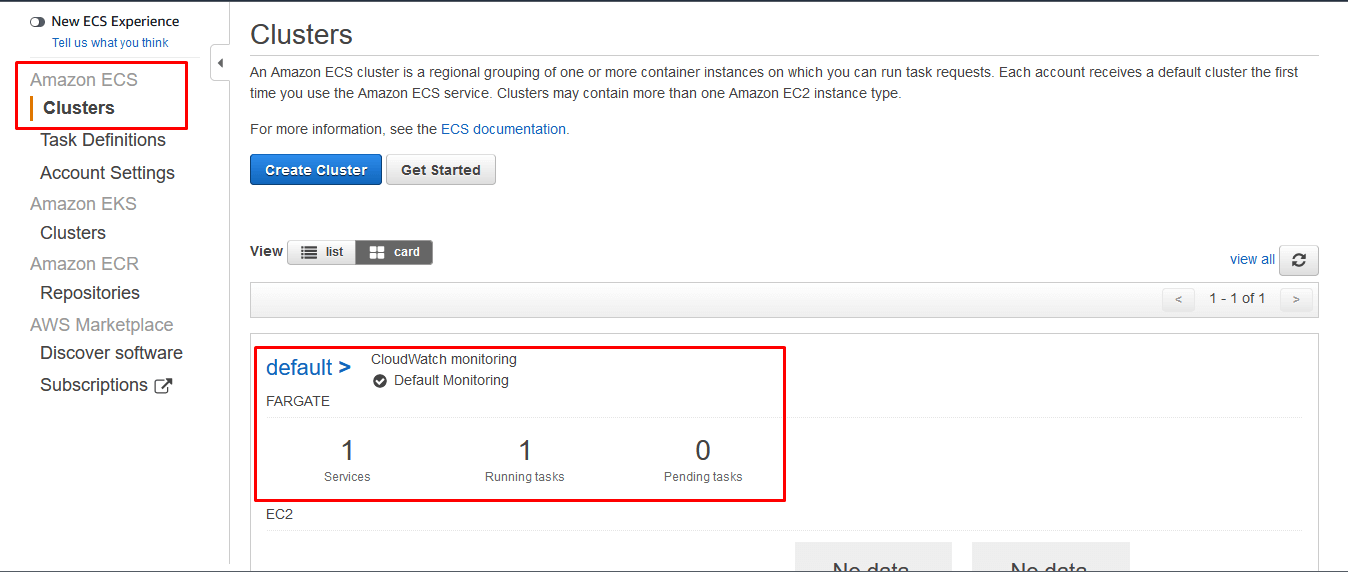
Step 7:
Under the Clusters section, the new cluster named “default” will be created.
Click on the name of the cluster to see the details. In our case, it’s default.
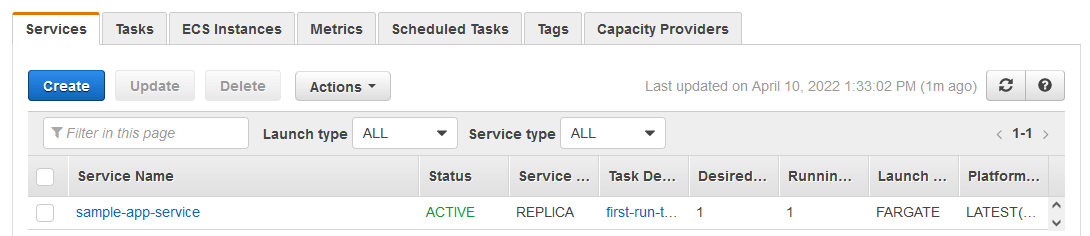
Step 8:
Under the Services tab, we can get the details regarding the services.
Under the Tasks tab, we can get the details of the running tasks.
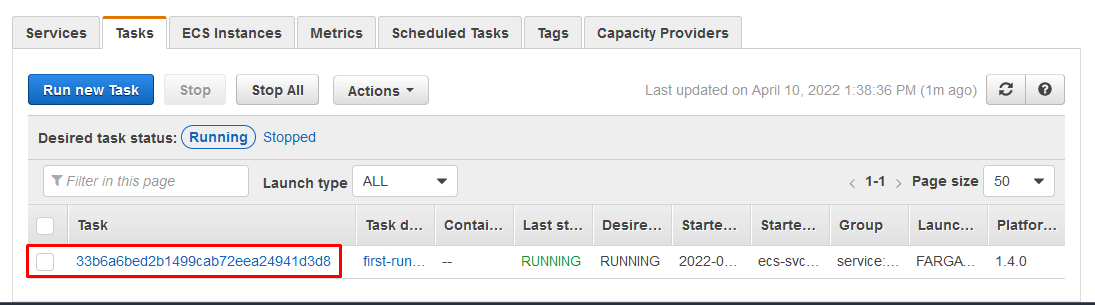
Click on the available task to get the details of the same.
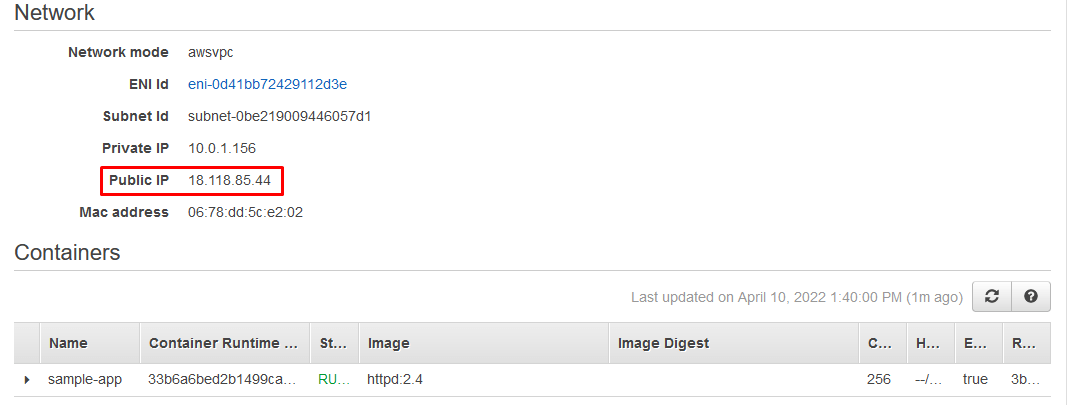
The Task details console will appear.
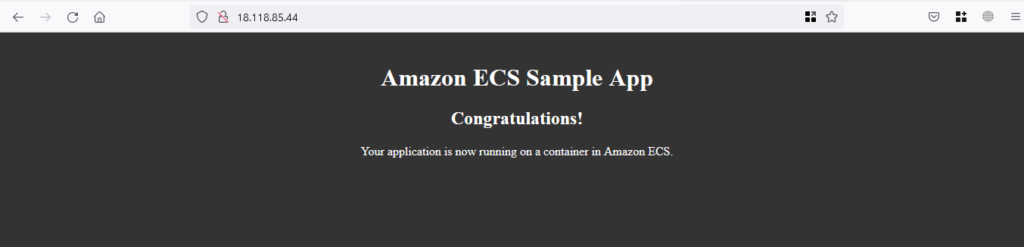
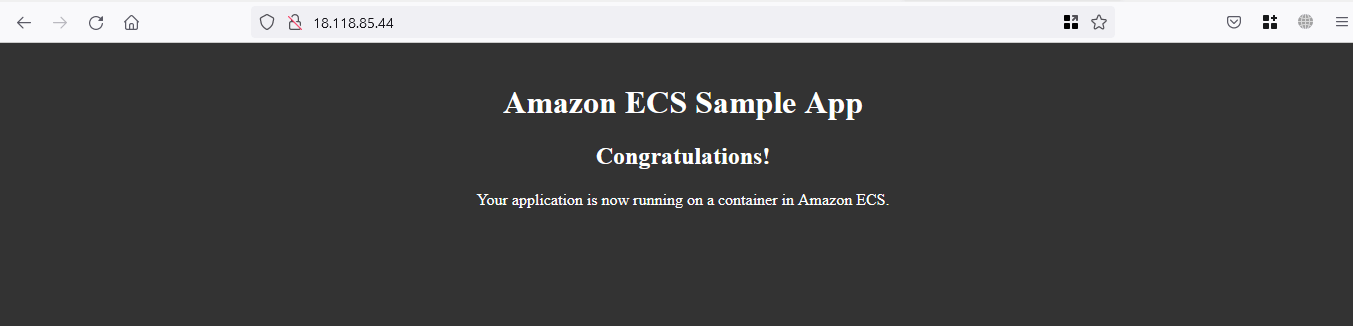
Under the Details tab, go to the Network section. Copy the Public IP and open that in a new browser tab.
The ECS Sample App will appear.
Step 9:
Go to the Clusters page and select default.
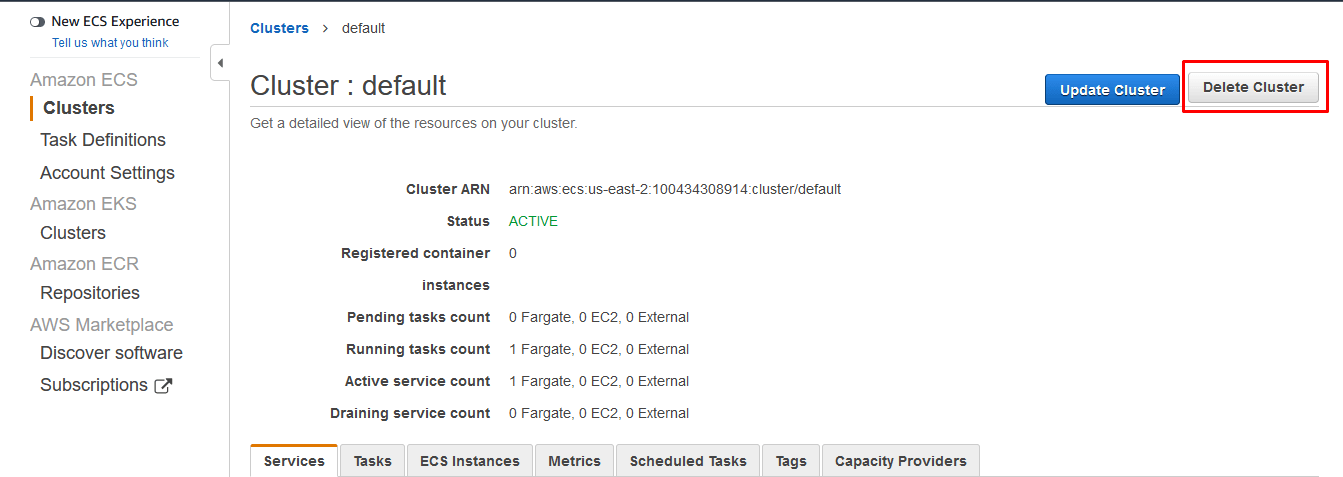
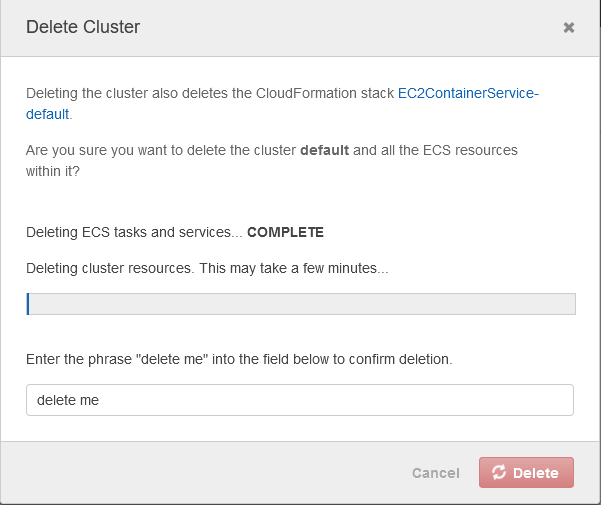
Click on the Delete Cluster button.
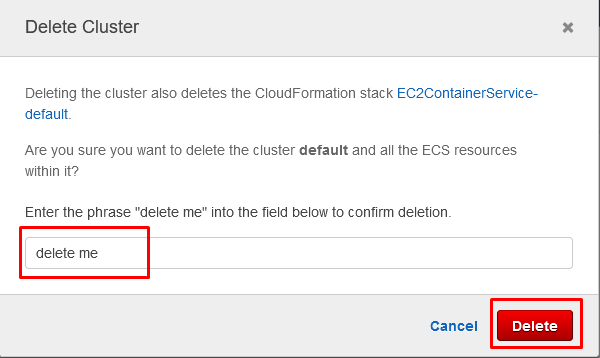
A new popup window will appear. Enter the phrase “delete me” and click on the delete button to delete the cluster.
Thus we have successfully created the ECS cluster and deployed a sample application.