In this post, we are going to see about the creation of IAM users & groups.
Services used:
| Service Name | Scope | Description |
| AWS IAM | Global | IAM stands for Identity and Access Management
This service is used to create the users, groups, and policies that could allow/deny access to other AWS services. |
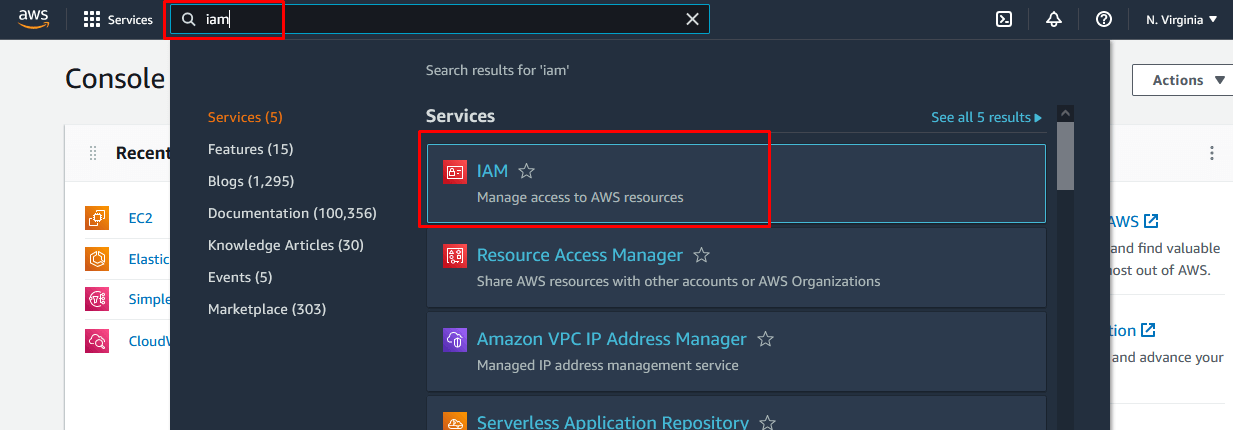
Step 1:
Go to AWS Console. In the search bar, type the word “iam“. From the filtered services, select the IAM service.
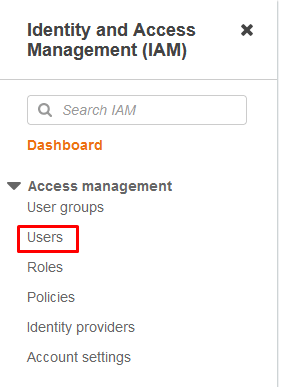
Step 2:
The Identity & Access Management console will appear. Click on Users under the Access Management section.
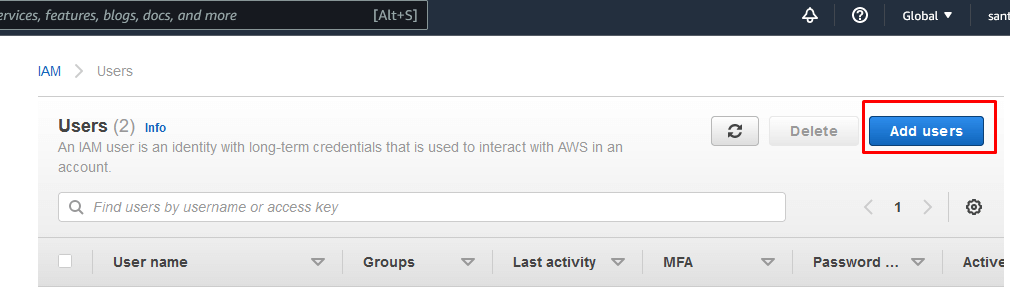
Step 3:
The Users console will appear. Click on the Add users button on the right side.
Step 4:
As the first step, complete the following actions:
Enter the User name under the Set user details section.
Select both the checkboxes of Select AWS credential type to provide Programmatic and AWS Management Console access.
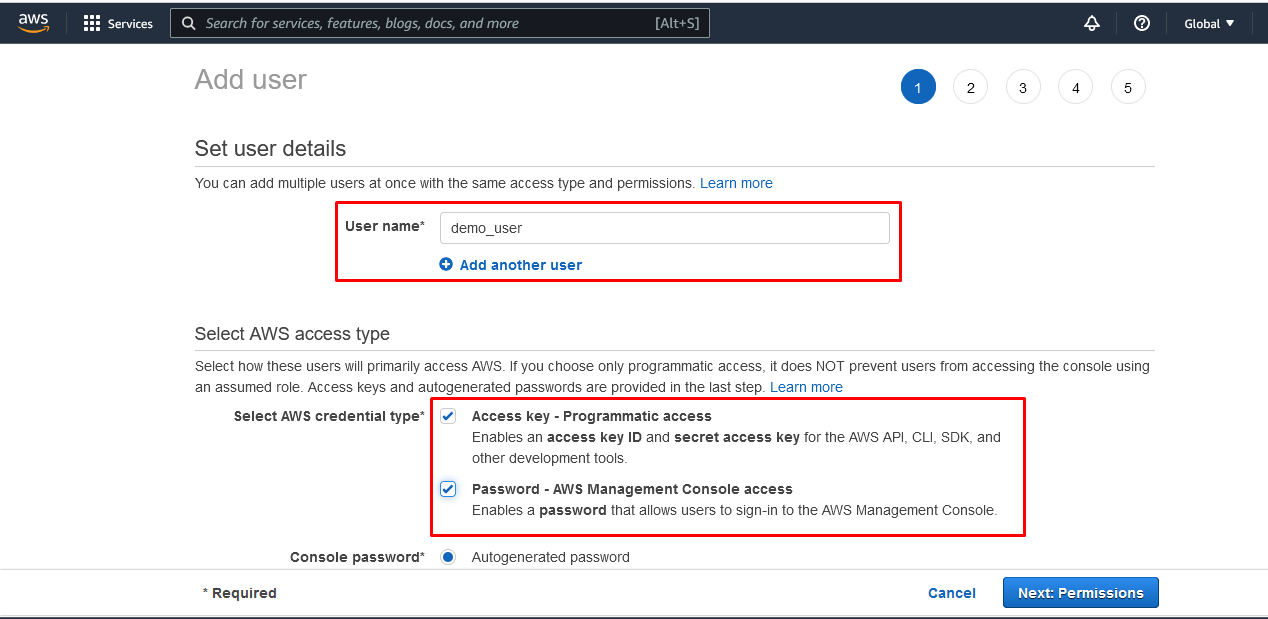
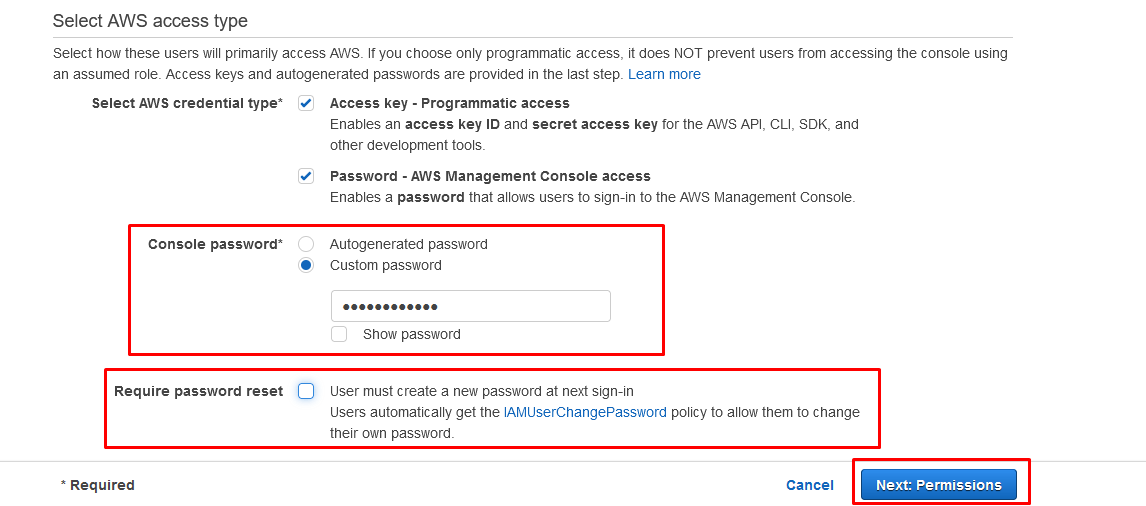
Select the Custom password radio button under the Console password and enter the password.
Disable the Require password reset checkbox
Click the button Next: Permissions
Step 5:
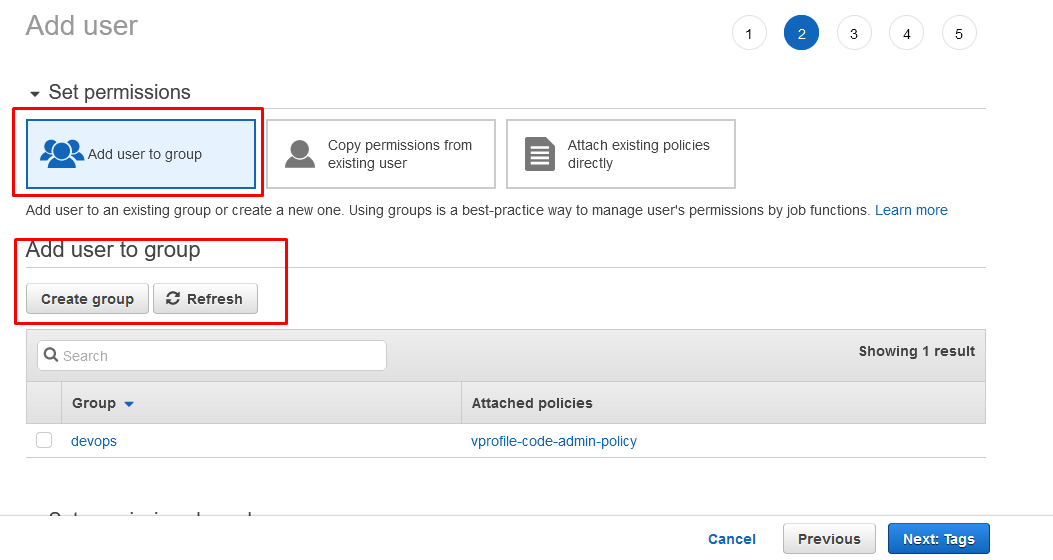
In this step, we need to select the permissions to be associated with the new user.
There are 3 ways to set the permissions:
- Add user to group: In this way, a group will be created and the respective permission will be attached to the same. Finally, the users will be added to this group.
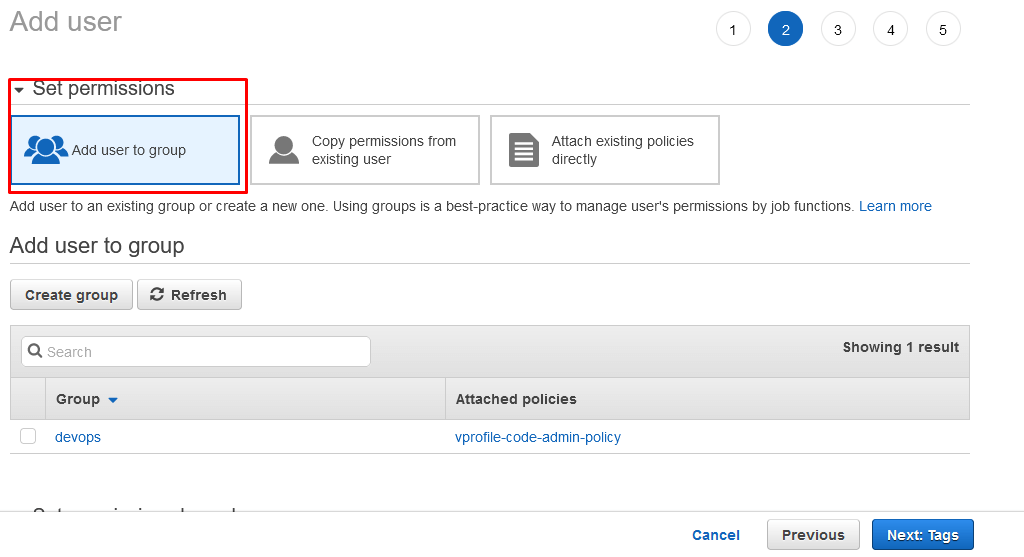
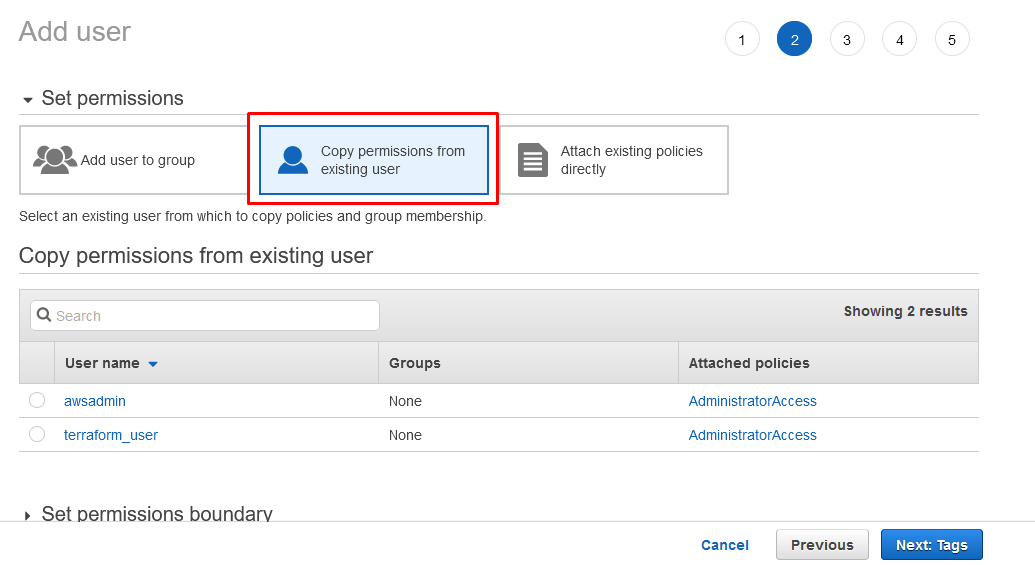
- Copy permissions from existing user: In this way, the policy/permissions of the existing user could be copied/attached to the new user.
- Attach existing policies directly: In this way, the managed/inbuilt policy could be attached to the new user. Here we are having the option to create our own policy too.

Select the Add user to group option and click the Create group button.
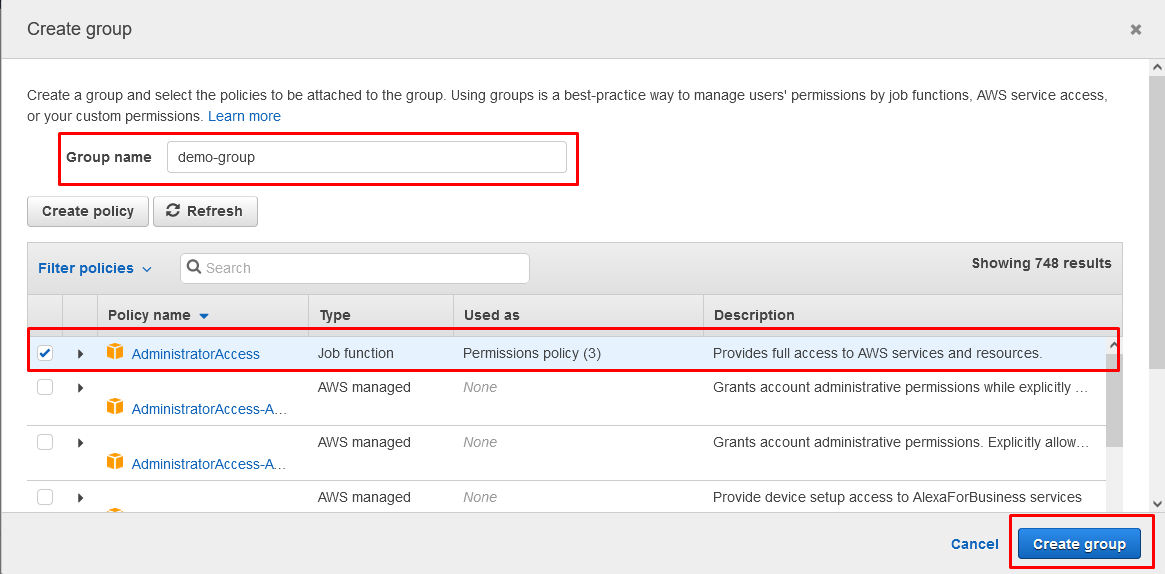
The Create group console will appear.
Enter the group name and select the policy that should be added. Click the Create group button.
The new group will be created and will be selected to attach with the user.
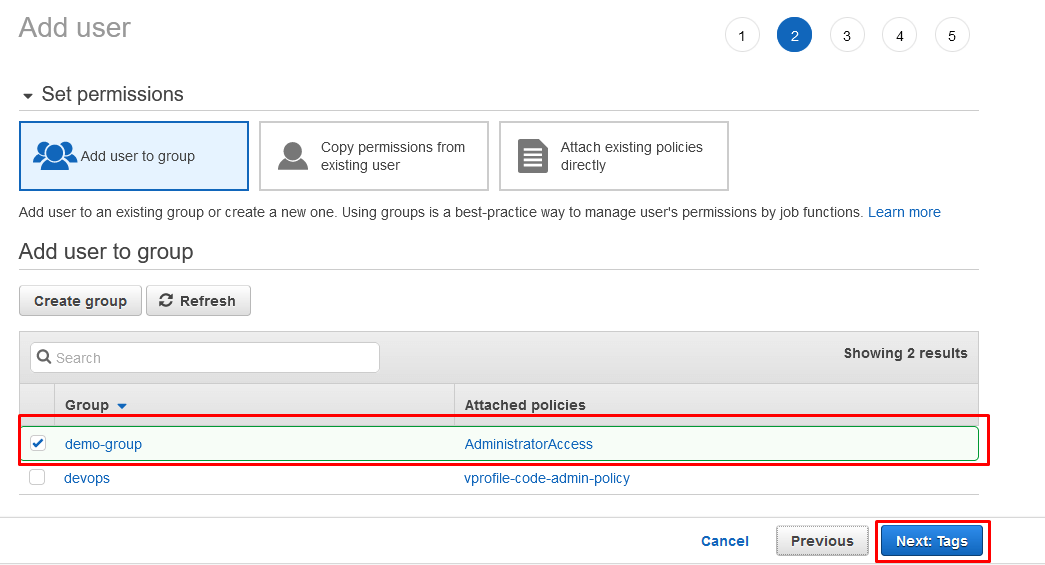
Click the button Next: Tags.
Step 6:
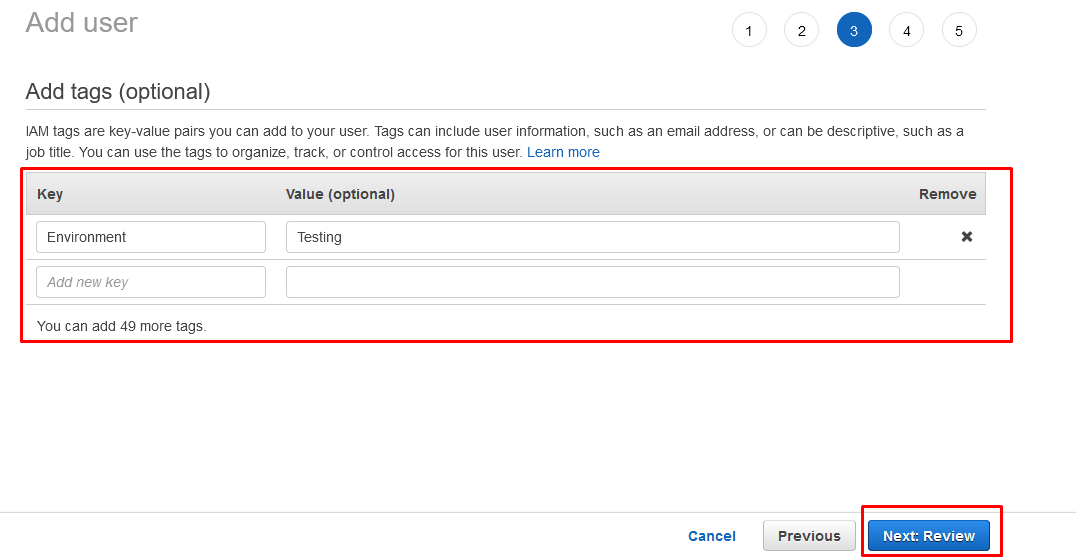
In this step we need to add the tags, This is an optional step.
Enter the tags in the Key-Value format and click the button Next: Review.
Step 7:
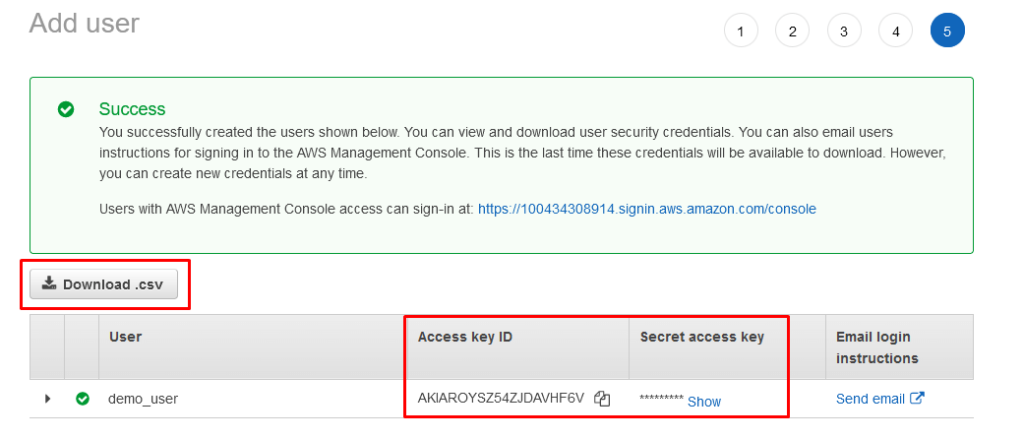
As the final step, review the details and click the button Create user.
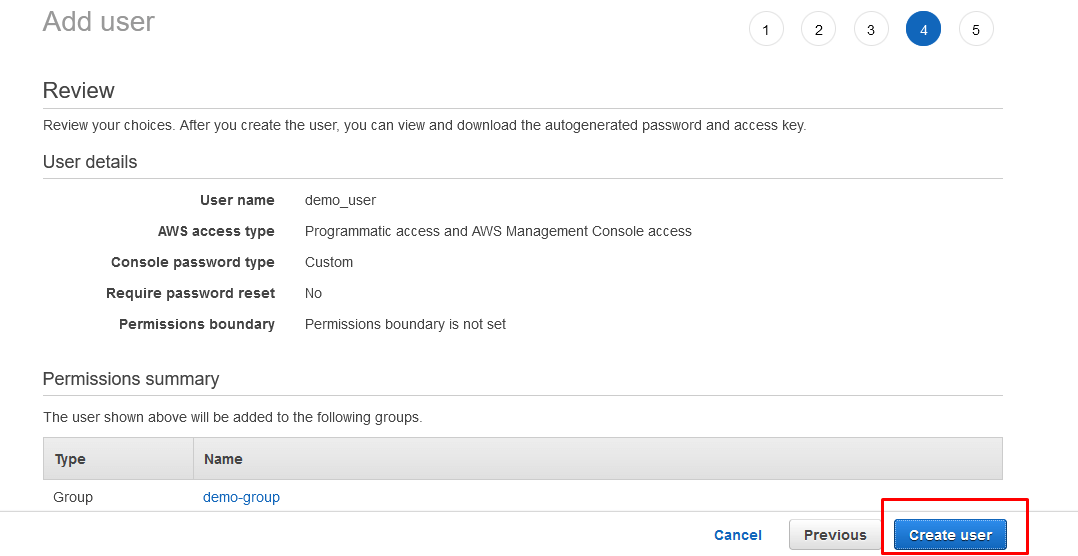
The user will be generated successfully. The credentials will be shown in the console.

We can follow any of the below-mentioned options:
- Downloading the credentials in .csv format using the Download .csv button
- Manually copying the Access Key and the Secret key
- Sending the credentials and instructions to the email
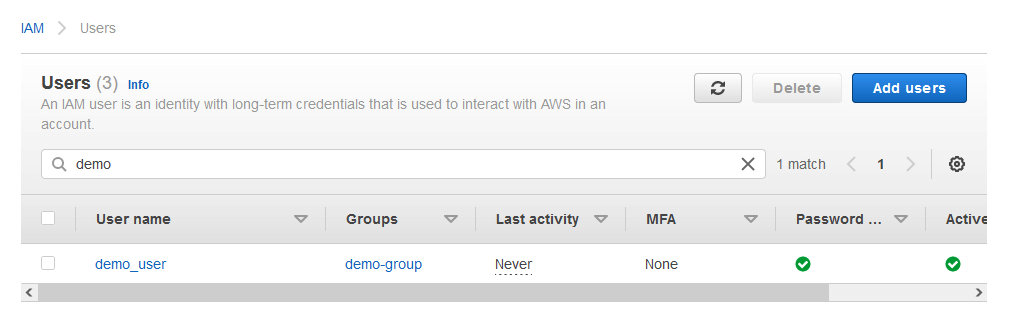
Step 8:
Go to the Users console by clicking Users under the Access Management section.
The new user details will be presented there.
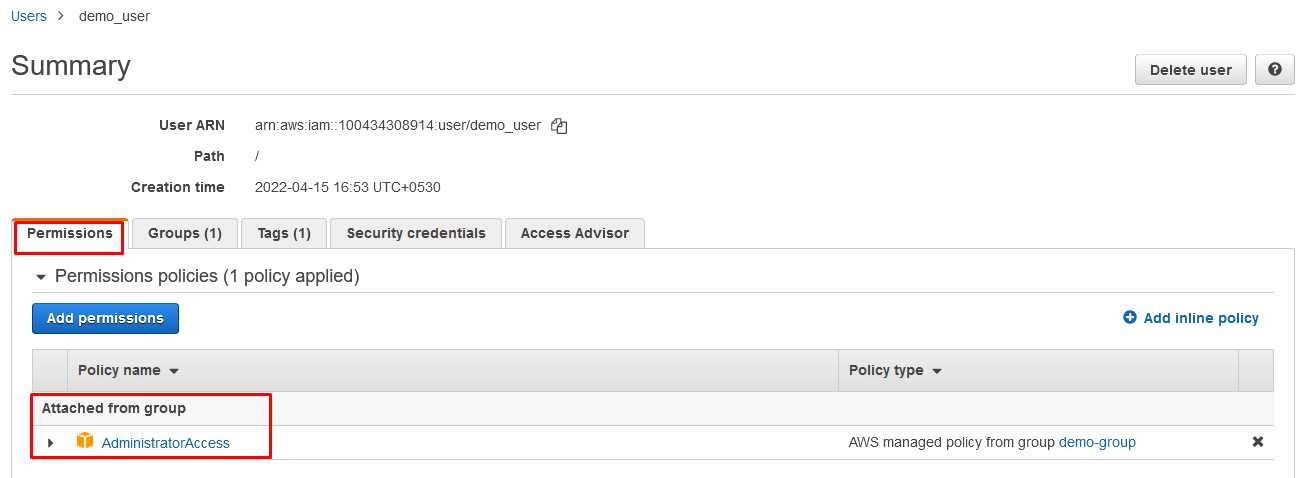
Click on the name of the user. In the Summary window, under the Permissions tab, the associated policy will be shown.
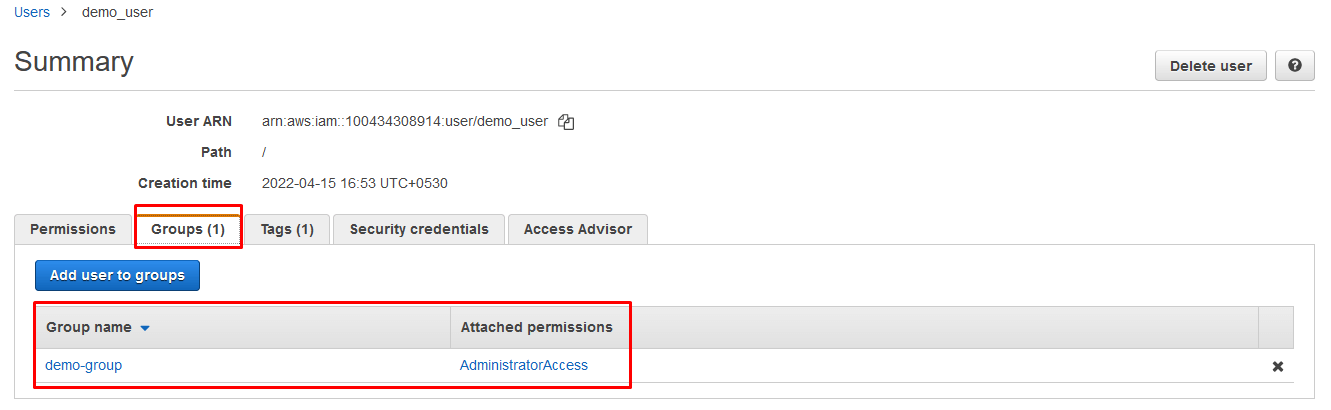
Under the Groups tab, associated groups will be shown.
Step 9:
Go to the Groups console by clicking Groups under the Access Management section.
The new group details will be presented there.
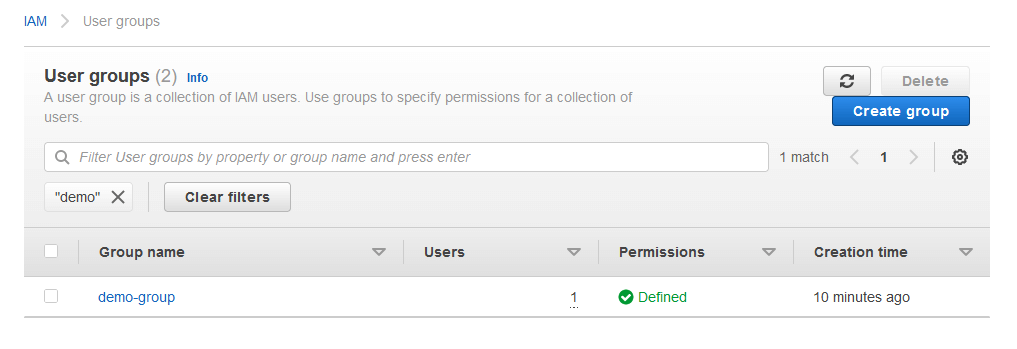
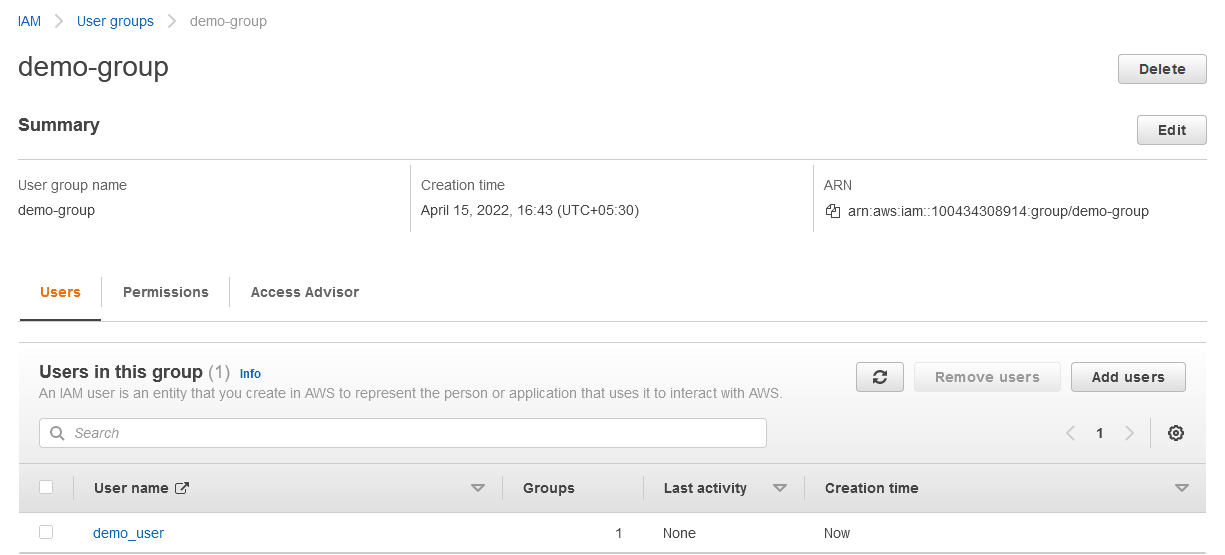
Click on the name of the group. In the Summary window, under the Users tab, the associated users will be shown.
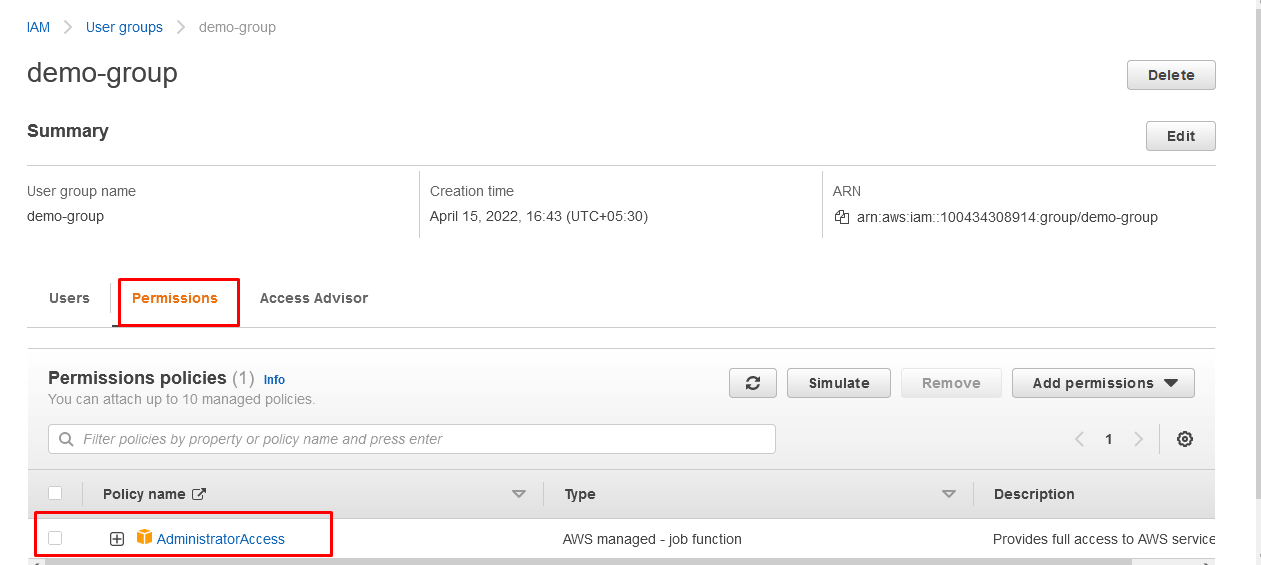
Under the Permissions tab, the associated policy will be shown.
Thus we have successfully created a new user and attached it to the group and the managed policy.